It's been over seven years since I first bought the Bacmann Thomas & Friends model of Skaroley with the intention of turning it into a passable representation of Talyllyn, the locomotive Skarloey was based on. A lot has happened in those seven years (two children for a start) but I've now finally finsihed the model. I've put together a video discussing all the changes and challenges which you can enjoy; probably quicker to watch than if I wrote it all down and you had to read it!
I also took a couple of photos showing the before and after; given I bought two models originally it seemed a shame not to comapre them.
Wednesday, July 19, 2023
Ivor the Engine
It's been six and a half years since I was first given the PH Designs kit to build Ivor the Engine and while the build process hasn't taken that entire period it has been long and involved. There have been a number of frustrating setbacks but I'm so glad I stuck with the kit as I'm over the moon with the finsihed model. Hopefully my enthusiasm comes through in this video looking at the finsihed model...
Monday, July 3, 2023
Lining Ivor
After all the fun with the large 16mm scale Hudson Hunslet I've switched back to doing some work on Ivor.
Since we last saw the model I've added the chimney and water filler cap and painted in their brass sections along with the brass window surrounds. Having added those I sprayed the model with a gloss varnish (specifically Vallejo Mecha Varnish 26.701) using the airbrush. While I don't want the model to have a gloss finish this was so that I could have a nice shiny surface to paint on the lining.
Doing the lining has been the most difficult part of the painting so far. The lines are etched into the model and I was hoping I could just flood the lines with yellow paint. Unfortunately that didn't seem to work, mostly as the yellow paint was almost transparent and so didn't show up. In the end I mixed yellow and ivory paint together to give a thicker more opaque paint. This was then painted, fairly roughly, over the lines with the excess then wiped away using a wet cotton bud. I did have to do some of the lines a couple of times to get enough paint into the lines; mostly as some of the lines were quite shallow due to a build up of the green paint.
Looking at the model I'm really happy with how the lining has turned out. Clearly it wouldn't be appropriate for most locos, but for Ivor I think it's perfect, as the colour in the originals varies in both hue and intensity along the lines and between different shots and I think I've managed to capture that quite well.
Doing the lining has been the most difficult part of the painting so far. The lines are etched into the model and I was hoping I could just flood the lines with yellow paint. Unfortunately that didn't seem to work, mostly as the yellow paint was almost transparent and so didn't show up. In the end I mixed yellow and ivory paint together to give a thicker more opaque paint. This was then painted, fairly roughly, over the lines with the excess then wiped away using a wet cotton bud. I did have to do some of the lines a couple of times to get enough paint into the lines; mostly as some of the lines were quite shallow due to a build up of the green paint.
Looking at the model I'm really happy with how the lining has turned out. Clearly it wouldn't be appropriate for most locos, but for Ivor I think it's perfect, as the colour in the originals varies in both hue and intensity along the lines and between different shots and I think I've managed to capture that quite well.
Saturday, June 3, 2023
As Seen In.... Garden Rail
Some of you may remember that back in February 2021 I finished building a 16mm Simplex loco that I painted orange. At the time I didn't give a particularly detailed description of the build. That all changed with the publication of June's issue of Garden Rail (it's actually been avilable since the 10th of May I believe) as that contains four pages of my waffle describing the build process, focusing on all the extra details I designed and added to the basic kit.
Friday, June 2, 2023
By The Devil, It's Big!
If you remember back a few months the initial motivation behind the 16mm scale Hudson Hunslet model came from a request to simply "scale up" the 4mm scale version I'd previously built. Well now I've finished it we can have a look at the two models side by side...
As you can see the 16mm scale version is an absolute monster in comparison! Either that or the 4mm version really is ridiculsouly small. To be fair I think both things are actually true.
If you've not been following along over on YouTube then there is a 25 part playlist documenting the iterative process to go from the 4mm version to the 16mm one which you might find interesting if you want all the gory details. If you just want the highlights then enjoy...
And if you want to build your own 16mm scale model then I'm making the 3D printed parts and the metal cowl available as a scratch aid kit. Full details are in the video and there is a link to a contact form in the video description where you can register your interest in one.
If you've not been following along over on YouTube then there is a 25 part playlist documenting the iterative process to go from the 4mm version to the 16mm one which you might find interesting if you want all the gory details. If you just want the highlights then enjoy...
And if you want to build your own 16mm scale model then I'm making the 3D printed parts and the metal cowl available as a scratch aid kit. Full details are in the video and there is a link to a contact form in the video description where you can register your interest in one.
Thursday, April 27, 2023
Ivor's Buffer Beams: So Many Options
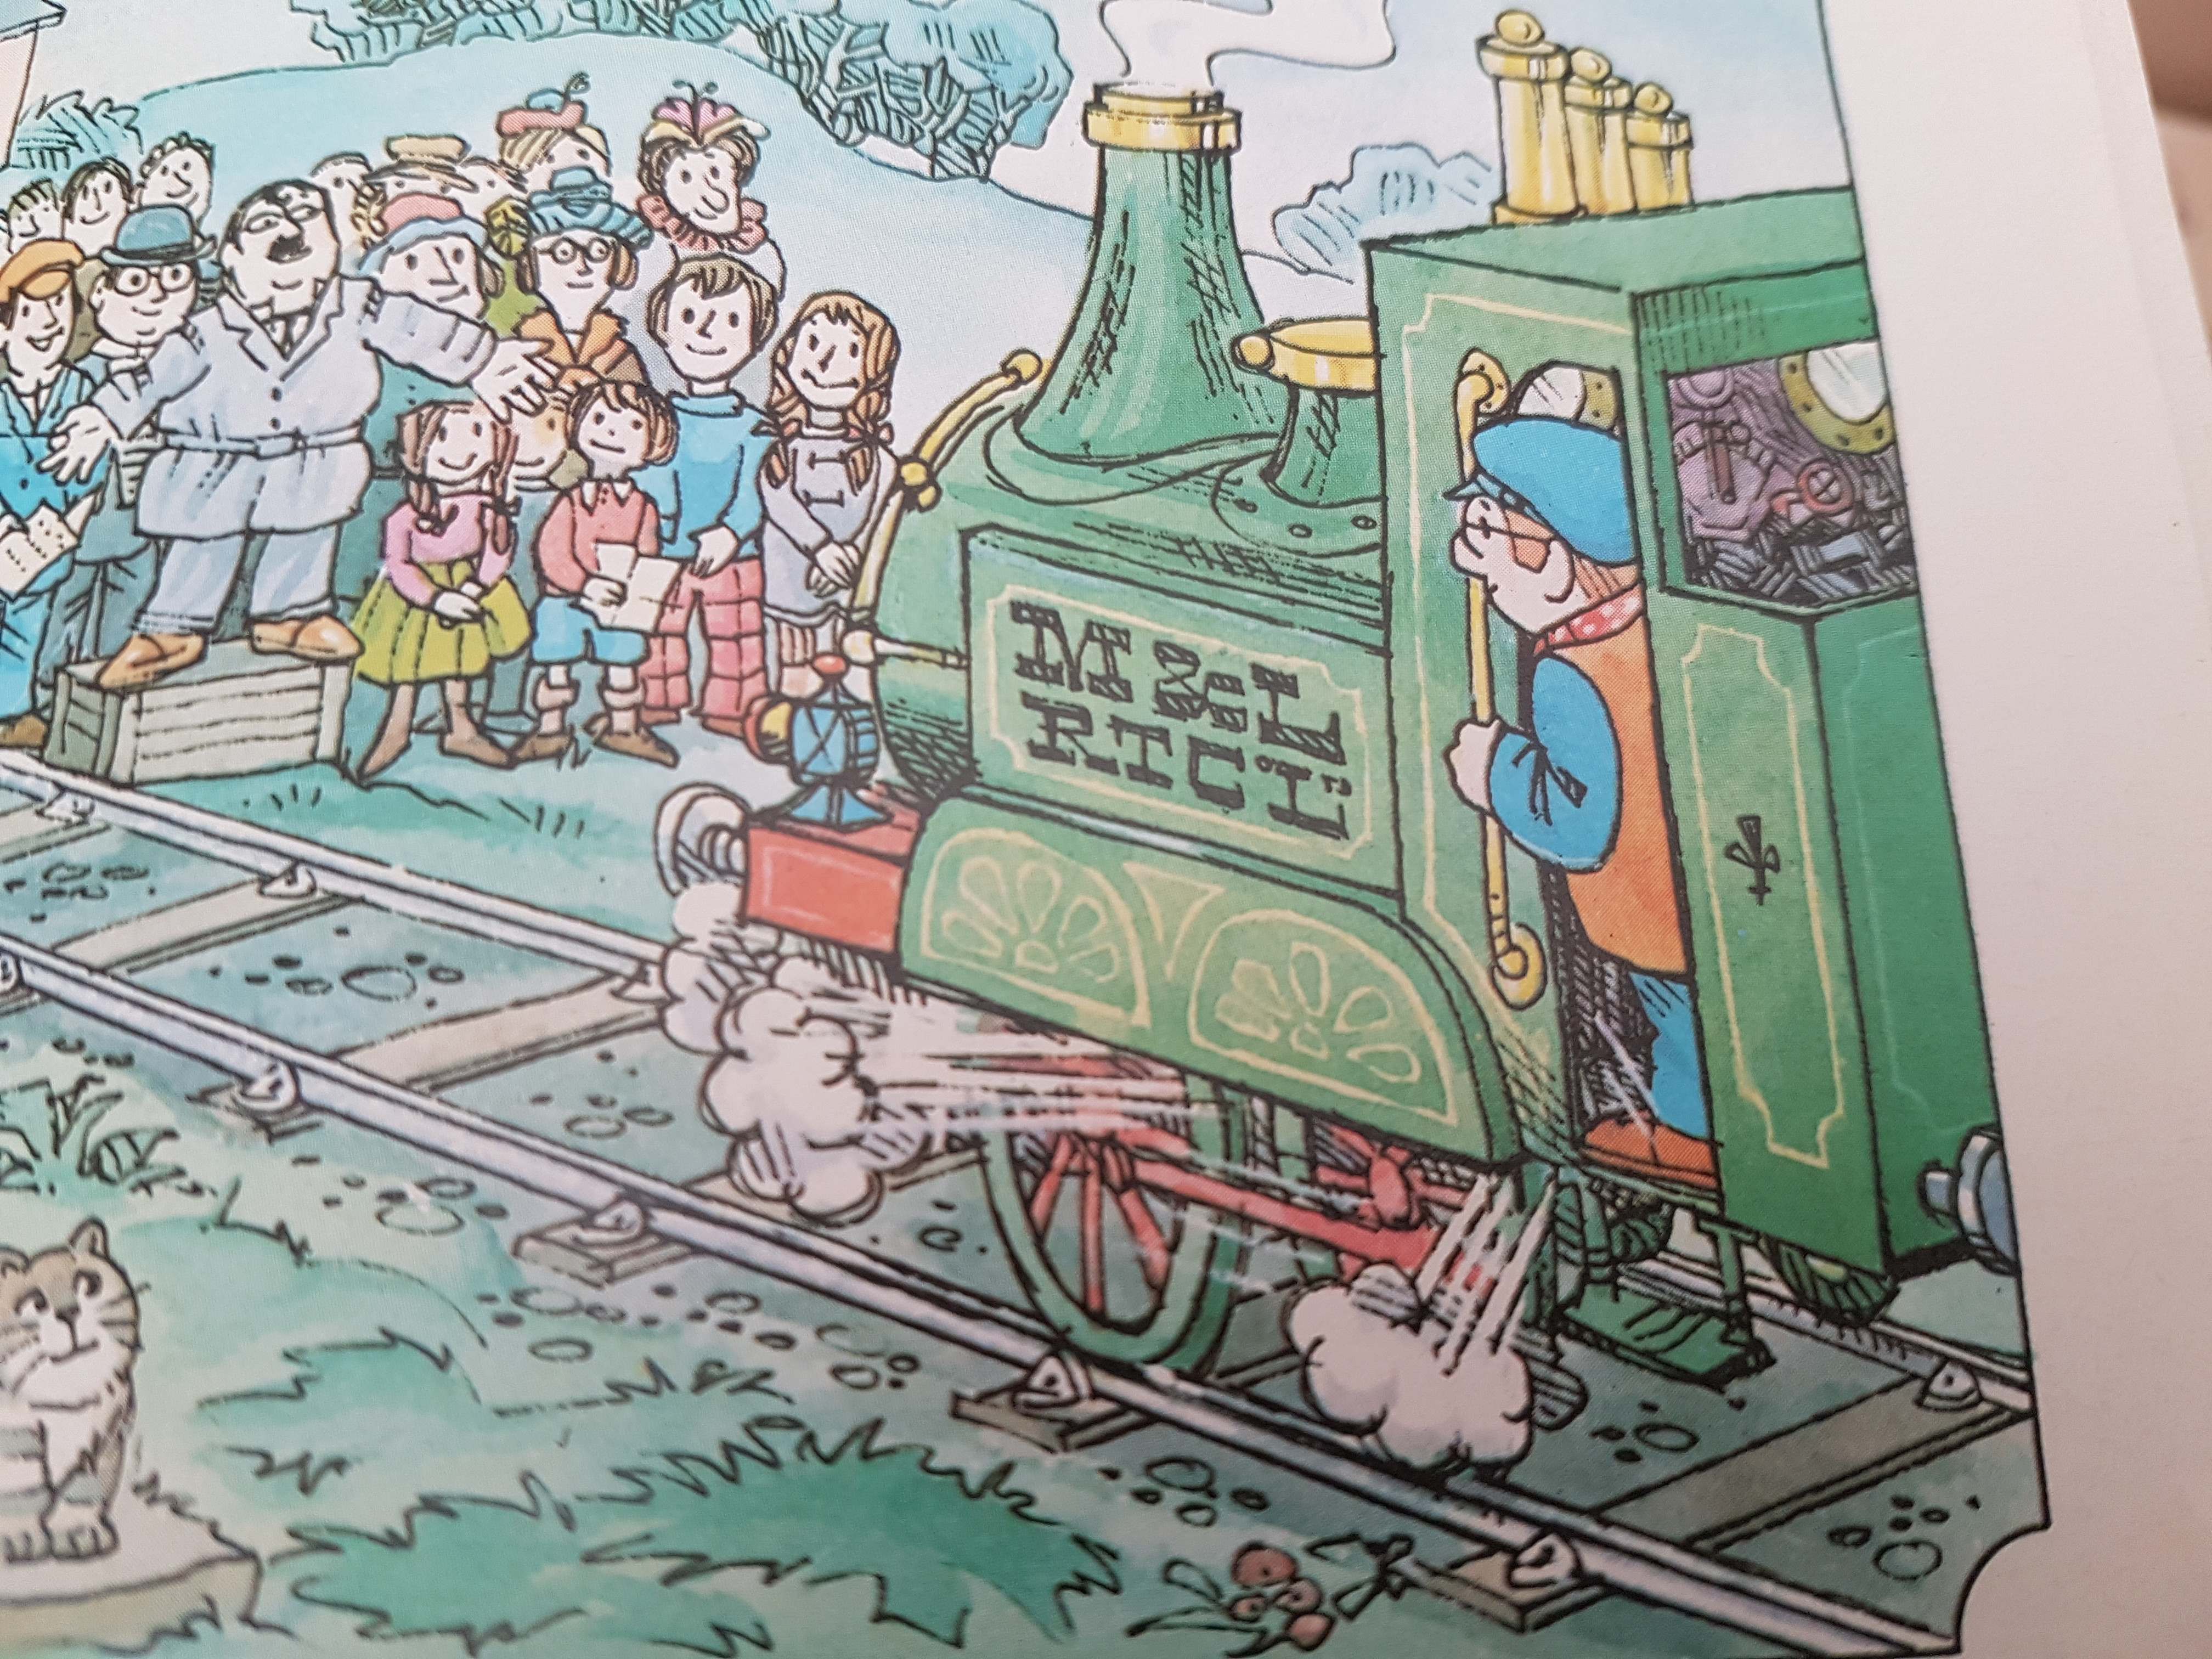
Having, put a base coat of green on Ivor I started looking thinking about painting the buffer beams. A quick glance at my standard reference work for this project, my childhood story book, and it quickly became clear that I had some decisions to make. The problem is that Ivor's buffer beams aren't coloured consistently throughout the book. From a thorough flick through it looks as if there are two options for the front and two for the rear.
If we look across those three photos then you can see that.... for the rear buffer beam it's either red (as you might expect) or painted green the same as the body. For the front, you can see that while the front and sides are always red, the top surface is sometimes left green. Looking more closely I think the more common options, across the whole book, are for the front to be all red but the rear left green so that's what I've gone with. Of course it's also the easiest option as it meant I didn't have to try and get a perfectly horizontal masking line on the rear of the loco as there is no line in the etch between the back of the coal bunker and the buffer beam.
Designing Wagons and Vans
A bit more of a catch up on the "I've finsihed..." videos this time looking at rolling stock rather than locomotives with a flat wagon and a gunpowder van both of which I designed:
Monday, April 24, 2023
Model #8
I've ended up quite a few weeks behind with corss posting the YouTube videos to the blog -- still no idea how many of the people who read this blog have subscribed to the channel so apologies if you've all seen this already, but with model number 8 we get to the most recent locomotive model I've built...
Wednesday, April 19, 2023
Back to the Top Left Hand Corner
With a little bit of sunshine appearing this afternoon I grabbed a few moments with the airbrush and.....
Yes, Ivor is now green. It seems like an age since I last did anything with this model so it's nice to see the base coat on, especially as I'm happy with the colour now I can see it on the model. Phew!
I think the next step will be to mask up and paint the buffer beams and then maybe some of the detail paint work (like the rims around the windows). I'm in two minds about the exact ordering, as at some point I'm going to need to add some gloss varnish to some sections so that I can do the transfers and the lining, but I think that will be probably the last step before the final varnish coat and a light weathering..... unless anyone has a better suggestion for the order to do things?
Thursday, April 6, 2023
Lots More Metal Forming
I don't know how many people read this blog without also subscribing to my YouTube channel, but if you've not seen them yet here are the most recent videos in the saga of metal forming.
Wednesday, April 5, 2023
Model #7
For some reason I forogt to post on Monday when I uploaded a new video looking at another model I've built. Anyway, here we are with another 16mm scale model which includes lots of additional detailing parts that I designed and 3D printed.
Tuesday, March 28, 2023
Model #6
Another week sees another episode in the "I've Finished..." series of videos, this time looking at the first fully etched kit I ever built.
Thursday, March 23, 2023
Models #4 and #5
Another day and another catch up post. This time two more episodes in the video series looking at models I've finished building from kits or kits I've finished designing. This time we have one of each, and an excursion into a bigger scale.
Wednesday, March 22, 2023
Metal Forming
I've just realised that I've not posted any if the video updates on the 16mm Hudson-Hunslet project to the blog recently. Hopefuly you are all subscribed to the YouTube channel so have seen them already but if not then there are three new episodes to bring you up to speed all of which revolve around metal shapes and metal forming.
Tuesday, March 7, 2023
Model #3
Another week brings us to episode (or locomotive model) number 3 in the new "I've Finished..." series of videos. This time we're looking at the first model I designed and turned into a kit; the 24hp light diesel locomotive from Hudson-Hunslet.
Tuesday, February 28, 2023
I've Finished...
Don't worry I'm not closing the blog, rather I'm intriducing a new series of videos I've started recording. The idea being that when I've finished building a kit or designing a new kit, I'll do a wrap up video that discusses all the interesting aspects and things I've learnt along the way. While I plan to do this going forward I also thought it would be interesting to go back and do videos for the locomotive models I've already finished.
I'm planning to try and release a new video each Monday (at least until I run out) and actually started this off last week. Unfortunately there was a bit of an issue with the first video as the sound went missing somewhere between my laptop and YouTube. Whilst I fixed that I did forget to blog last week to introduce the series. The upshot of that is that there are now two videos for you to watch and enjoy.
First up we are looking at the 99hp Baguley-Drewry loco I built from a kit by Narrow Planet
And for the second video we have the "Alice" class Quarry Hunslet built from a kit by Brian Madge
I'm planning to try and release a new video each Monday (at least until I run out) and actually started this off last week. Unfortunately there was a bit of an issue with the first video as the sound went missing somewhere between my laptop and YouTube. Whilst I fixed that I did forget to blog last week to introduce the series. The upshot of that is that there are now two videos for you to watch and enjoy.
First up we are looking at the 99hp Baguley-Drewry loco I built from a kit by Narrow Planet
And for the second video we have the "Alice" class Quarry Hunslet built from a kit by Brian Madge
Wednesday, February 22, 2023
Magnetic Side Panels
A short update on the 16mm scale Hudson-Hunslet build involving the side panels and some tiny magnets
Friday, February 10, 2023
Broken But Moving
It's taken a while (work and family commitments meant not much time for modelling) but U've finally got a little further with the 16mm scale build of the 24hp Hudson-Hunslet diesel loco.
Friday, January 27, 2023
Feet in the Footwell
Two videos in todays post, both of which are about finally sorting the footwell problem
Tuesday, January 24, 2023
Subscribe to:
Posts (Atom)